Kubeneretes Changes
Generate the appropriate files from standard templates
This step adds the new kubernetes/kustomize directory structure.
In repos without a service module just remove the -pl service-name part of the command:
Pull in the standard Kustomized files from ckm-deployment-templates:
mvn -pl sms-service filegen:generate-kustomize-filesFor generating other project files, see the NGSS Filegen Maven Plugin V5 documentation. These files are no longer automatically generated for every build of the project.
Configure resources and probes
We want to overwrite what generated in the kubernetes/base/deployment.yaml with the original settings for both the resources, and the probes (readiness, liveness, and startup).
| Ensure that resource/limits doesn’t have a cpu limit |
Service Specific Updates
Some services have unique requirements that need to be transferred over but are not in the standard template. These can be things like annotations, ports, etc. Ensure that you scan the original k8 manifests and transfer over any project specific stuff.
| imagePullSecrets and the env vars from the old deployment.yaml doesn’t need to be brought in. |
Update Service and Deployment ports
Most services will be correct by default to the generated template.
If there is a difference. For example a db connects to the service and port 1523 is needed, then those ports will need to be added to the base service and deployment.yamls manually.
Additionally, you may want to add the port to the skaffold.yaml if port-forwarding is desired. There is a port-forwarding section in the skaffold.yaml once it is generated.
|
Update the HorizontalPodAutoscaler
In this step we just want to take the configs from the original yaml and apply them to the ones that have been generated in the SQA, and Prod folders.
Populate the overrides.env files.
Anything that is in the common-app-config repo does not need to be placed in the overrides.env files as long as a reference to the common-app-config is in the kustomizations being built. https://coderepo.mobilehealth.va.gov/projects/CKM/repos/common-app-config/browse
|
A reference to the common-app-config would look like this in the kustomization.yaml files:
resources:
- https://coderepo.mobilehealth.va.gov/scm/ckm/common-app-config.git//dev?ref=main
In this step we’re focused on getting the consul values out of the metadata.yaml and into the components/dev/overrides.env
The components/dev/overrides.env can be established by grabbing the appconfig.consul values from metadata.yaml and any env vars declared in the old manifests that aren’t consul-related.
|
When moving values from the consul application configs repo to Every change except removing newlines is easily applied by using the following RegEx expression to capture each key and value, then doing a "replace" by using back-references to generate the new values: Specify the following value in the "Replace" command in IntelliJ and apply for each line.
|
Check the documentation section and dibr.md to see which of these are vault variables.Those values will NOT go in the base overrides.env, but rather go into kubernetes/components/secrets/application-secrets.env instead.
|
SQA and Prod overrides.env will use the values in these repos:
| Currently the template add JWT_KEY and possibly other values into the overrides.env for prod and sqa that are already in common-app-config. TODO update the template. |
| Any discrepancies between what is in the base/overrides.env and the repos above that arent obvious should be brought up with the PO for clarification as picking up the wrong values from the base/overrides.env or putting values into the configmap that we dont need can be problematic. |
Add Dependent Services
Service dependencies can be identified in the metadata.yaml file. There are two methods of getting dependent services into the project
1. Kustomize Module:
Using the kustomize module is a temporary solution as we migrate services. First check Bitbucket and if the dependent service in question has a release branch which includes the Skaffold and Kustomize integration already, then use method two. To use the kustomize module method:
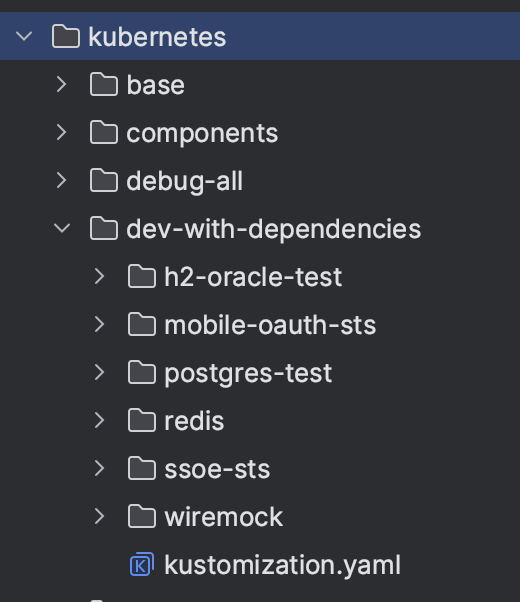
go to the kustomize-modules repo (https://coderepo.mobilehealth.va.gov/projects/CKM/repos/kustomize-modules/browse) and copy the directory for each of those dependencies into kubernetes/dev-with-dependencies/ directory.
After they are added open up the kustomization.yaml in the dev-with-dependencies directory and add them under the components section. For example:
apiVersion: kustomize.config.k8s.io/v1beta1
kind: Kustomization

resources:
- https://coderepo.mobilehealth.va.gov/scm/ckm/common-app-config.git//dev?ref=main

components:
- localstack
- audit-event-producer
- oracle-test-v4
- ../components/dev
2. Use Git reference in the kustomization.yaml component section
If the depdendent service has already been migrated to use Skaffold and Kustomize, then the dev-with-dependencies/kustomization.yaml file can be updated to read and pull the needed files from Bitbucket. In the kustomization.yaml you will add a link like below:
components:
- https://coderepo.mobilehealth.va.gov/scm/iums/audit-event-producer.git//kubernetes/components/dev?ref=Release/1.13&timeout=60s
- https://coderepo.mobilehealth.va.gov/scm/iums/mobile-mvi-service.git//kubernetes/components/dev?ref=Release/1.33&timeout=60s
- cocytus
- ../components/dev
In the above components section the reference points to a dependent services /kubernetes/components/dev directory and provides a version. The cocytus dependency would be using method 1 from above.
| You must put the dependencies in the order they need to load. This can take some trial and error to determine. The dependencies that were copied over should have this section commented out which can give a clue to the needed order. |
See Specifying Service Dependencies in Kustomize for more details. In addition, the Kustomize Dependencies Cheat-Sheet contains entries you can copy/paste directly into the components section
|
Wiremock, Mockserver, Postgres, H2
This section deals with configuring Wiremock, Mockserver, Postgres, and H2 Oracle Test so that test data is loaded and available during local build and test.
There are five main steps in involved in getting these tools working.
-
Add the module in
dev-with-dependenciesfolder (See previous section). -
Create a folder under
devand add the data files there. -
Add a
deployment.yamlin the directory with the data files that creates a volume and volume mount. -
Update the configmapGenerator in
dev/kustomization.yamlto list the added data files. -
Update the
dev/kustomization.yamlto patch the deployment that created the volume and volume mount from earlier.
Here is an example using wiremock.
Add the deployment.yaml and data files
In the picture below we have made a wiremock-data folder and placed both the data and the deployment.yaml (scene on the right) which creates our needed volume and volume mount.

Update the dev/kustomization.yaml
Here we update the dev/kustomization.yaml with the information it needs to generate the config map and to patch the deployment.yaml we just made.
...
configMapGenerator:
  - name: mobile-webauthn-sts-app-config
    behavior: merge
    envs:
      - overrides.env
  - name: mwasts-wiremock-mappings-configs
    files:
      - wiremock-data/mappings/mvi_health.json
...
patches:
  - path: ./wiremock-data/data-wiremock.yaml